Billing Rules Module
If you haven't yet reviewed the documentation for the workflow, please see the UR Suite & Billing Module Workflow Overview resource.
Overview
Billing rules can be as simple or complex as you would like them to be. The purpose of the rules is to route your billing charges and codes properly based on payer.
To start, you will navigate to the main menu, then Utilization Review > Billing Rules.
Setting up Inclusive Services for Levels of Care
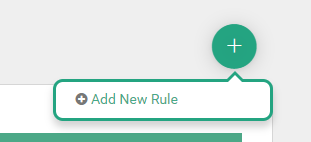
The first rule we will look at is your level of care billing. Start by clicking "add new rule" from the green (+) in the top right.
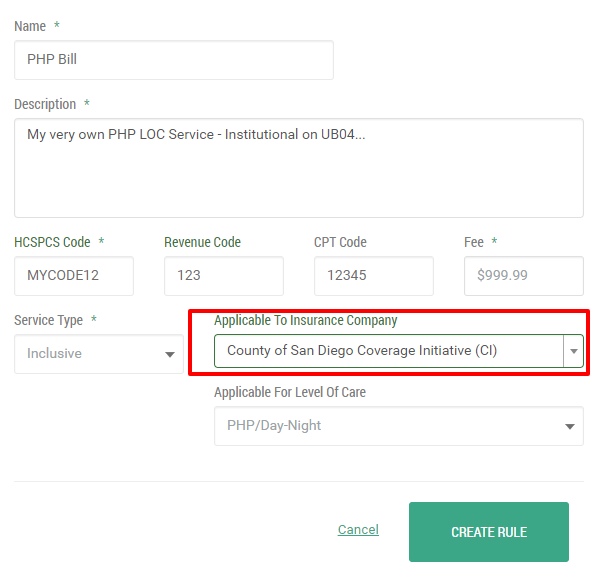
Fill the rule information in
Next, fill in the name of your rule, the description of it, what HCSPCS code, revenue code, CPT code (if applicable), fee, service type and the applicable level of care.
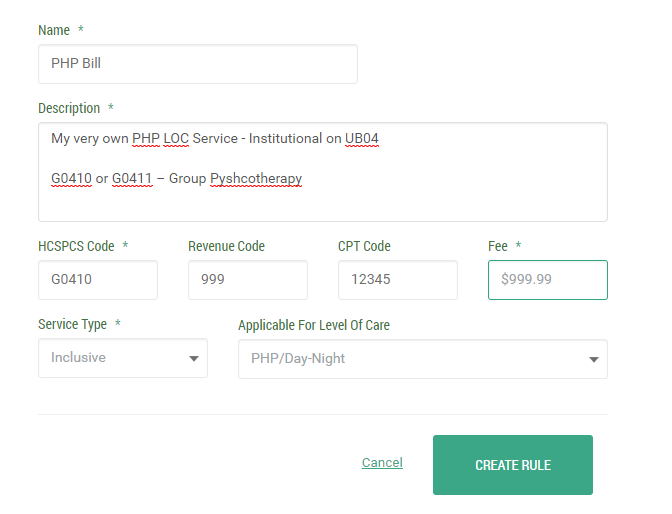
Note: ZenCharts customers can have custom levels of care, so keep in mind this is not standardized and will need to be set up.
After you finish entering the information, click create rule. You can cancel and go back from here as well.
Setting up Additional Services for Professional Billing
Almost identical to adding an inclusive service rule, you will follow the same process. Start by clicking "add new rule" from the green (+) in the top right.
Fill the rule information in
Next, fill in the name of your rule, the description of it, what HCSPCS code, revenue code, CPT code (if applicable), fee, and set service type as "additional". You can name these rules something easily identified such as "45 Minute Doctor Visit" and then let the system code it for you.
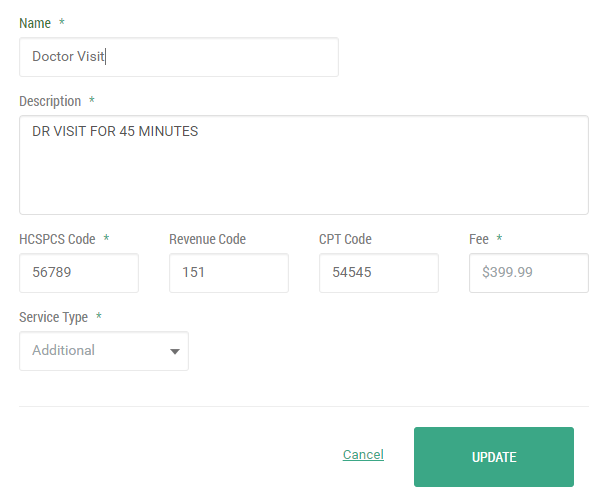
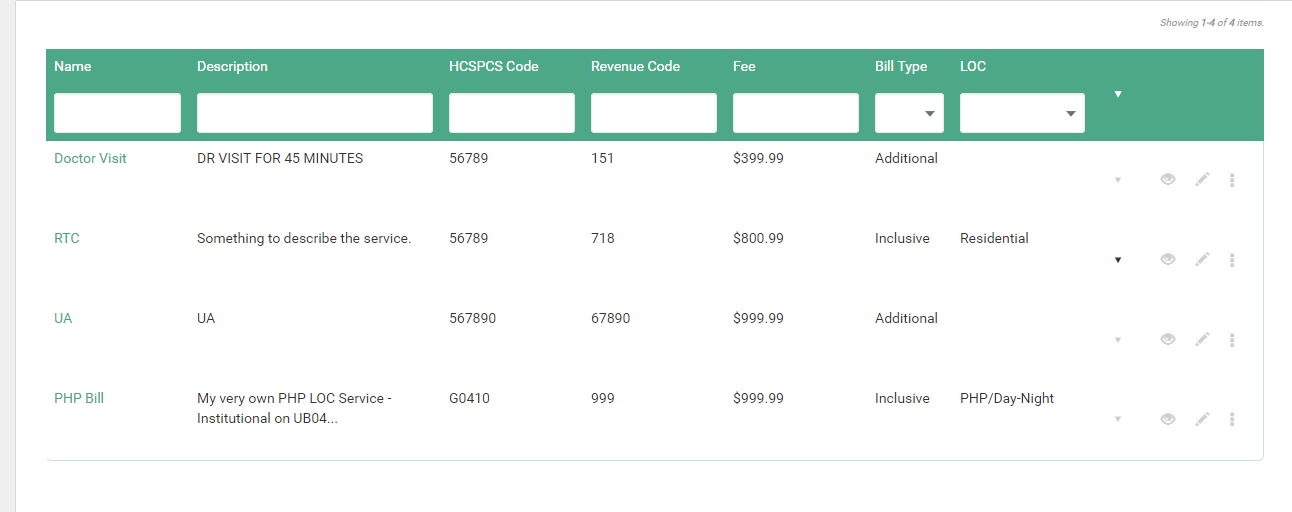
After you've clicked save you can now return to the main billing rules area. That's it!
Building Rule Exceptions
For certain payers you will want to create exceptions in your billing. For example, maybe one payer only accepts a certain code for a service, while others use a standard code. In this case you will be creating exceptions.
Start by clicking on the three dots next to the rule you would like to give an exception to then choose "add exception" from the list provided.

Select the Payer and Fill in the Information
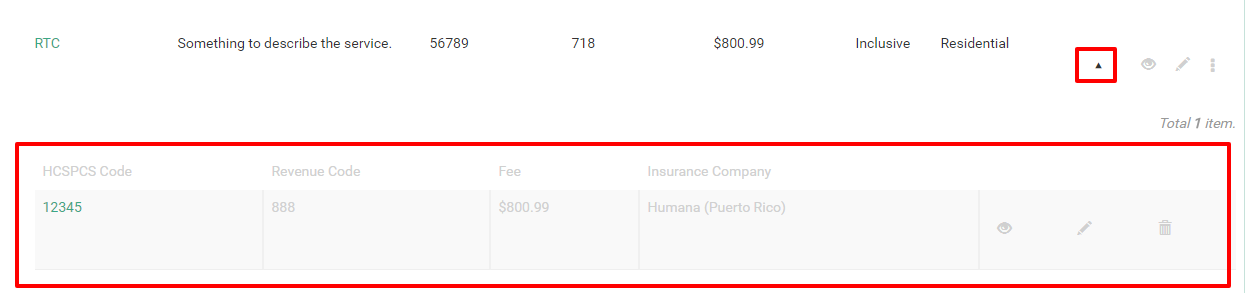
Much like adding the original rule, you will need to fill out the appropriate information. ZenCharts will bring in the information from the default rule to save you time in setup. Alter the rule based on payer and click "create rule".
Now, you will notice the rule has been successfully created and the charge router will look for exceptions in your billing in the future.
Future Features
This platform will be built upon for native integrated billing. We're hard at work right now making sure you have a native billing platform in addition to our integrated partners.
Other Notes & Integrations
If you are using an integrated partner for billing, the setup can vary particularly with the billing rules. Please reach out to a ZenCharts customer service representative if you have any questions.