How to Admit a Client (v3)
Converting the Patient
Once all conditions are met and the pre-admission record is complete, you can 'convert' the chart from the CRM to the active current clients census when they have arrived at your facility.
You can do this by navigating back to the main waiting room. If you're in "pending admissions" simply click the 'Expand' tab on the left side of the page and click into 'Charting'. If you're anywhere else in ZenCharts, just click the ZenCharts logo on the upper left corner of the screen.
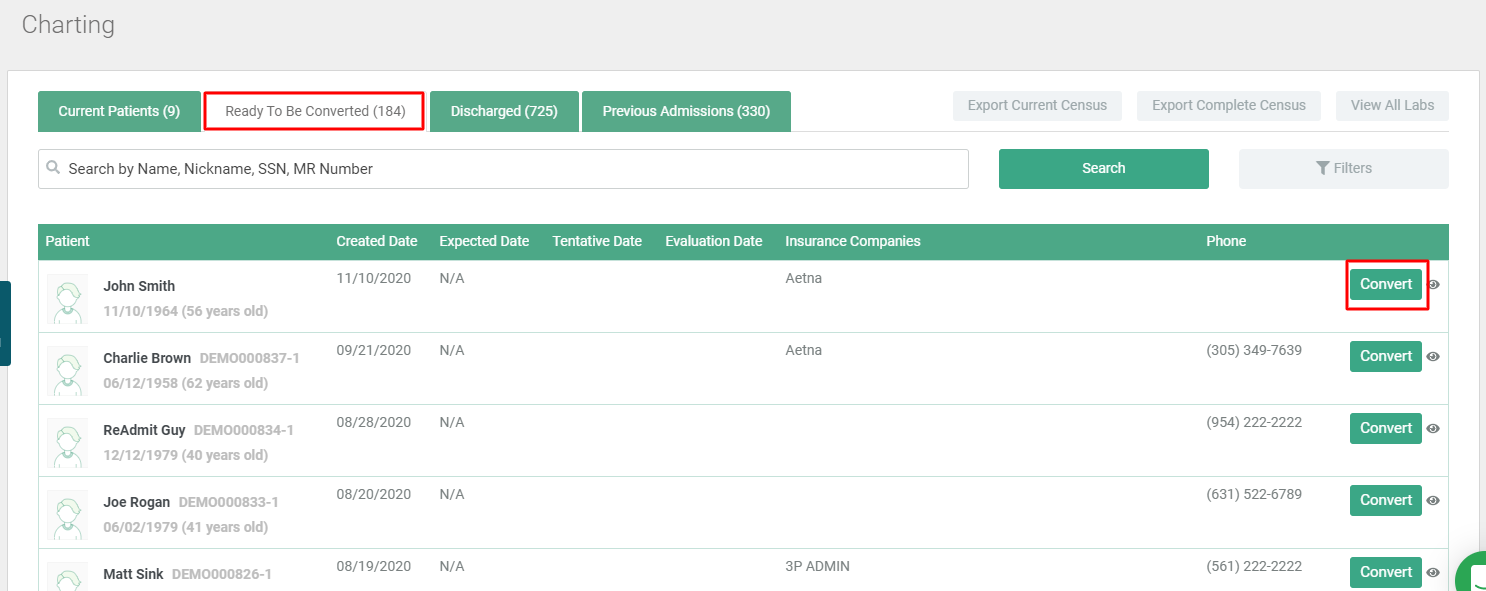
Navigate to the tab titled 'Ready to be converted' and then click the 'Convert' button next to the patient name that you wish to convert from the CRM (Pending admissions) to the Current Clients.
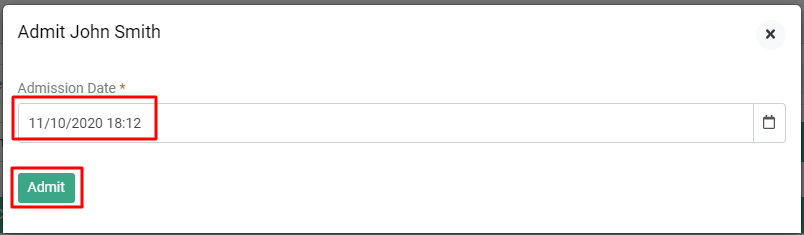
Then choose the date/time of the conversion (this would be the date and time the client is officially admitting to the facility).
Admission Wizard
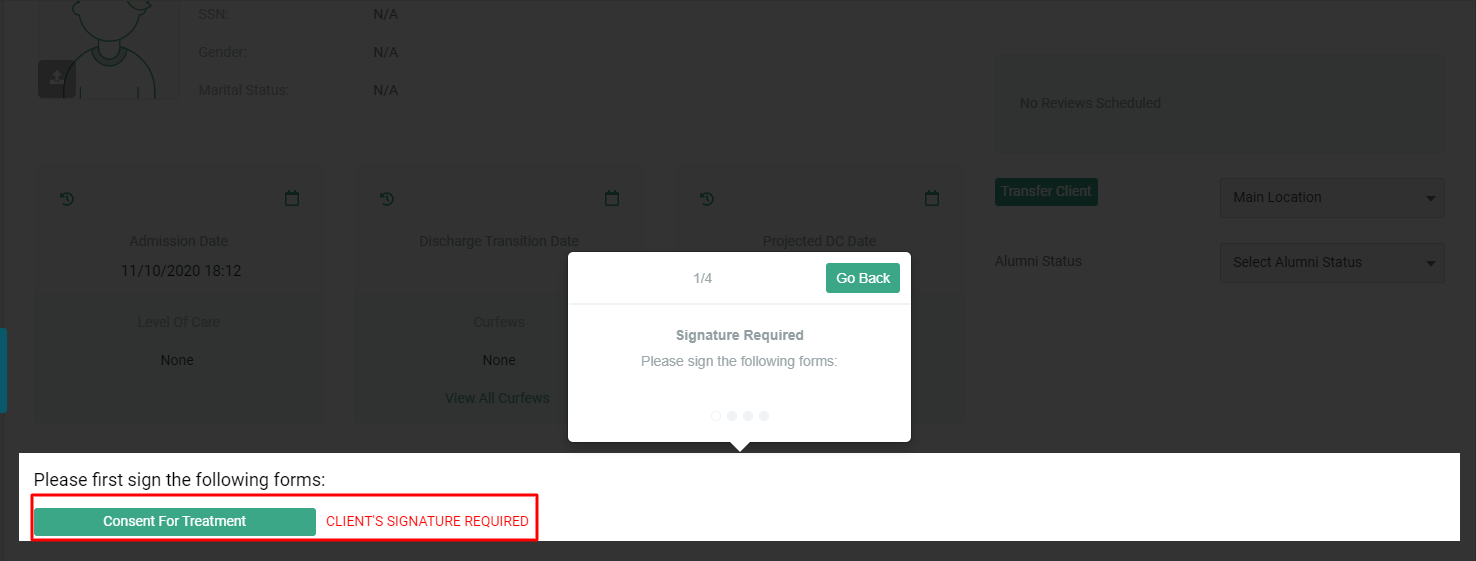
If your facility has the admission wizard turned on, you will be prompted to have the client sign their consent for treatment by clicking on this 'Consent For Treatment' button.
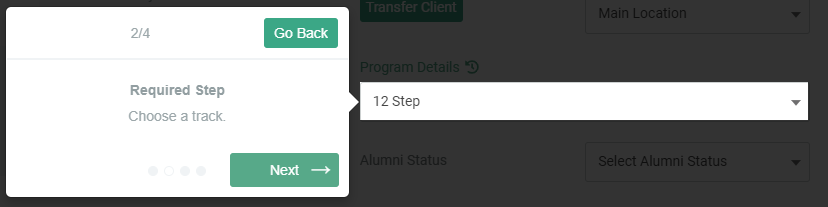
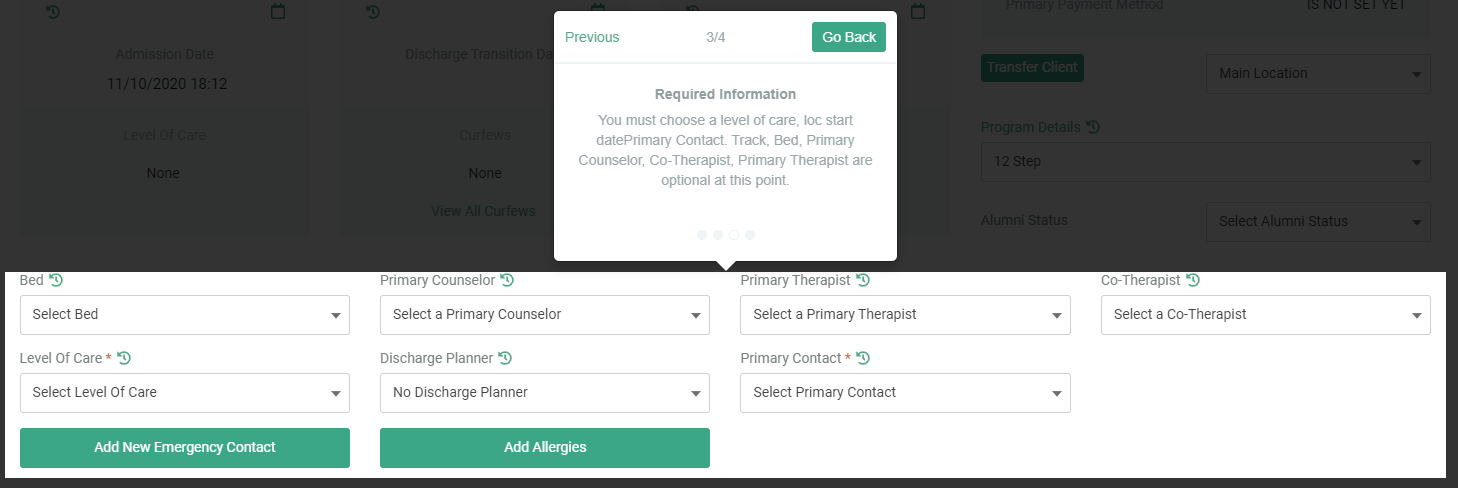
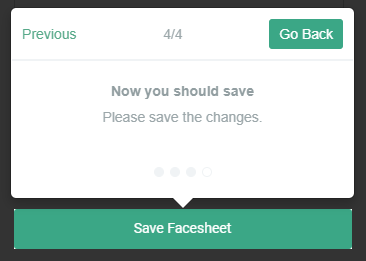
Once the client signs the consent for treatment, you will be brought back to the admission wizard screen and will be required to select a Track and click 'Next'. You must then choose a level of care, Primary Contact, add allergies if required, and click next. You will then be prompted to 'Save Facesheet' to move forward to the consent wizard and continue with your standard admission process.
Watch this Quick Tutorial on how to Admit A Client!
If the client is not in the system and does not yet have a Preadmission record in the CRM, click the button below to see how to add a new client record.