How to Require a Signature on a Form
One of the basic system administration functions is the ability to control who can sign a document and in what order.
Navigate to the Form Template
To set up the signature rights, first navigate to Other > System Admin > Form Templates and select the document you would like to change. Then click the "settings" bar on the left side of the page.
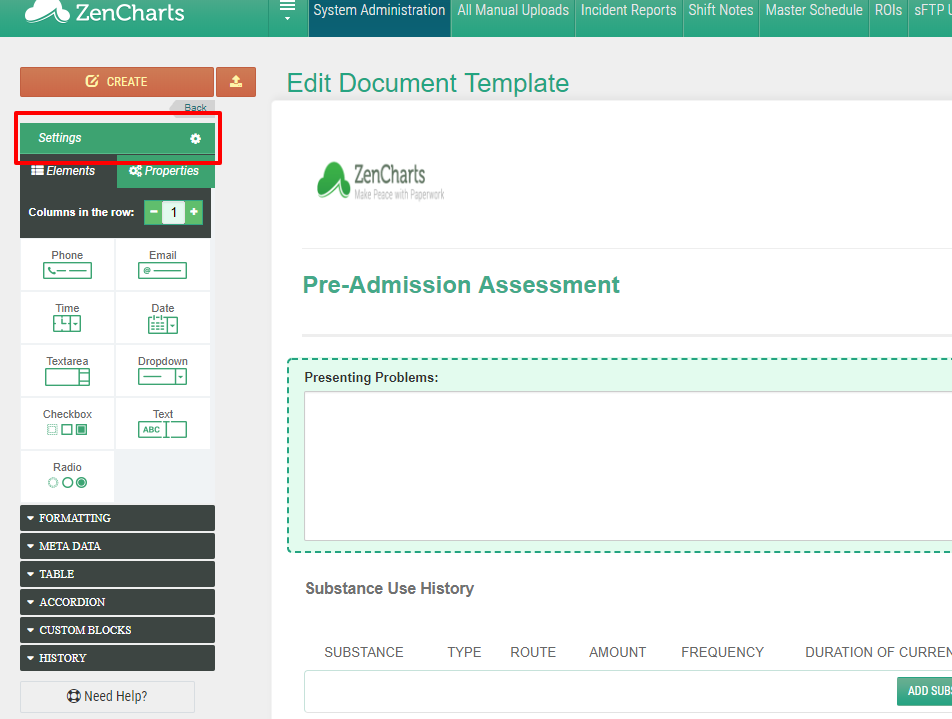
Note: If this is a new document, make sure to click "create" in the top left.
Adjust the Signature Rights
After you go into the setting of the form, scroll to the bottom of the page and you'll see multiple options for signatures.
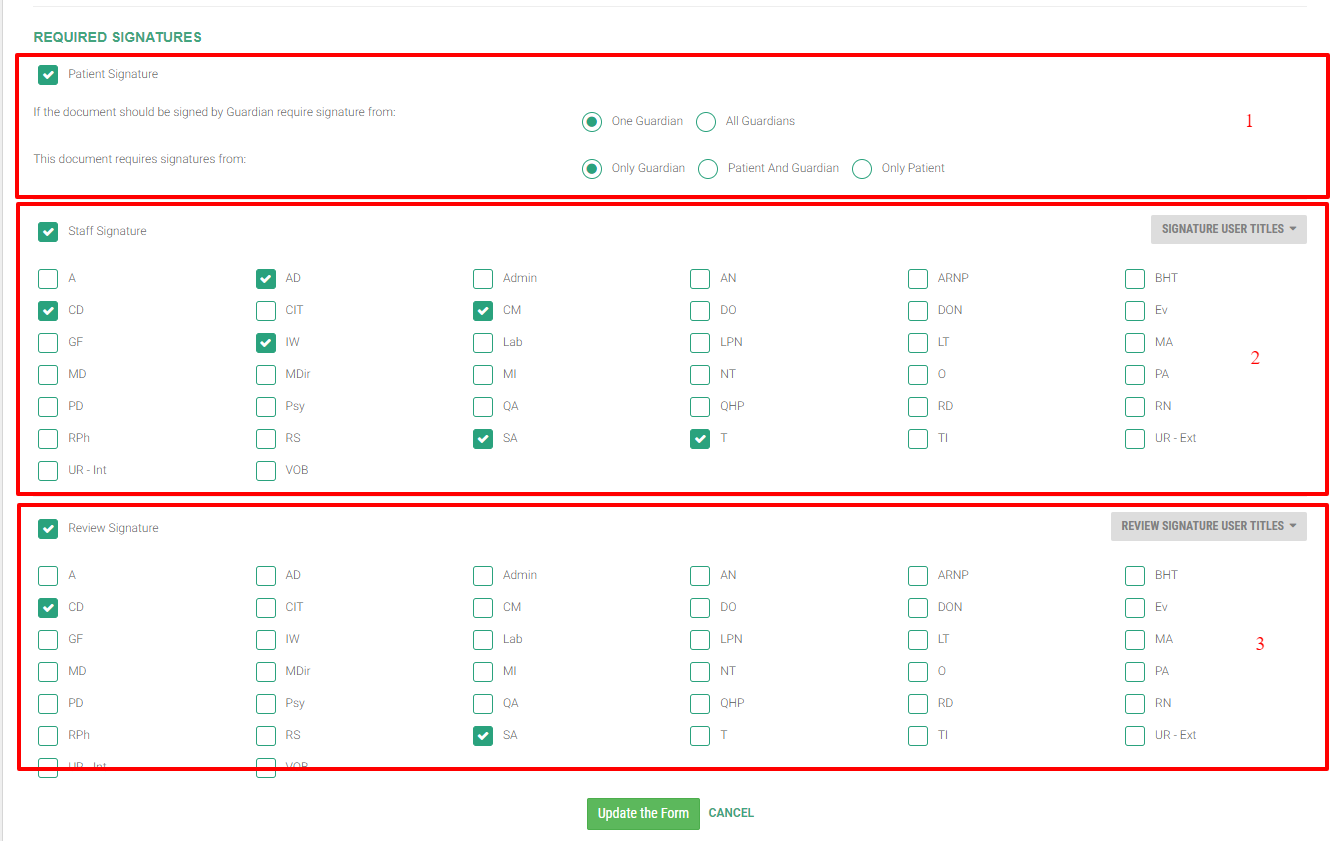
These options are as follows:
-
Patient signature - this option will allow you to select if the patient signs. If the guardian portal is enabled, you will also see options for guardian signatures.
-
Staff signature - this option will allow you to select which staff roles would sign the document first.
-
Review signature - this option will allow you to select the reviewer of the document.
Special Review Cases & Options
In order to set up conditional review signatures you first need to identify the roles that will or will not need a review. For example, you may want all therapist interns to have their work reviewed by a licensed therapist. But, if the licensed therapist fills out the document, they do not require a review signature. In this example you would create two roles for signing under the staff signature:
-
TI
-
T (or LT)
Then set up only one review role:
-
T (or LT)
Now, when the TI role signs, it will require an LT/T signature behind it. If the LT/T signs, they will not require a review.
Note: you must have "auto-review sign" turned on to eliminate double signatures. You can enable that in Other > System Admin > Settings > General Settings.
