POC Screening using the Testing Queue
This article explains the steps to properly utilize ZenCharts ordering functions in an environment where screening is necessary and confirmations are PRN (or As Needed) based on the positives/negatives of a screening result.
Step by Step
Step 1: Start in the main waiting room (click the ZenChart's logo to get there)
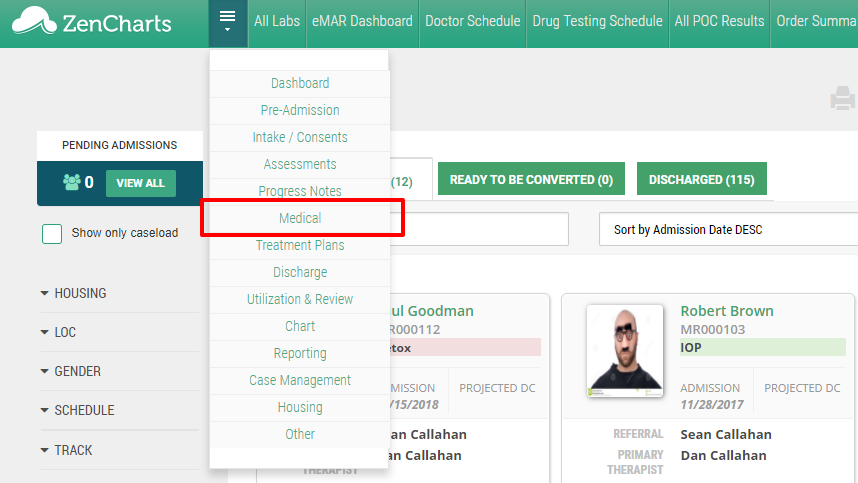
Step 2: Navigate to the main menu, then click Medical > All Labs > Testing Queue

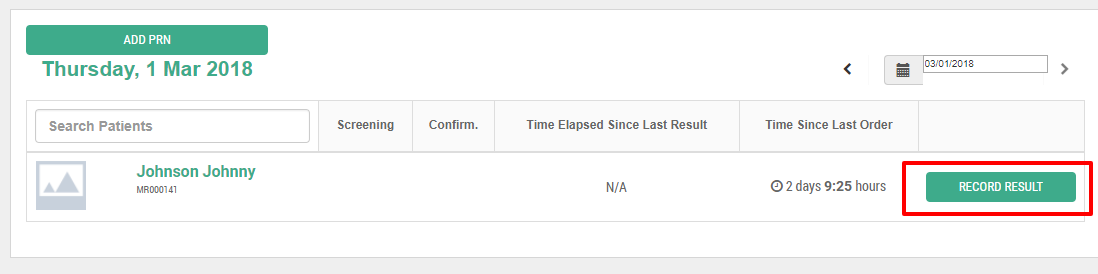
Step 3: Choose "Record Result" for the patient in the queue.
Record the screening results and select "Submit results and order confirmation"
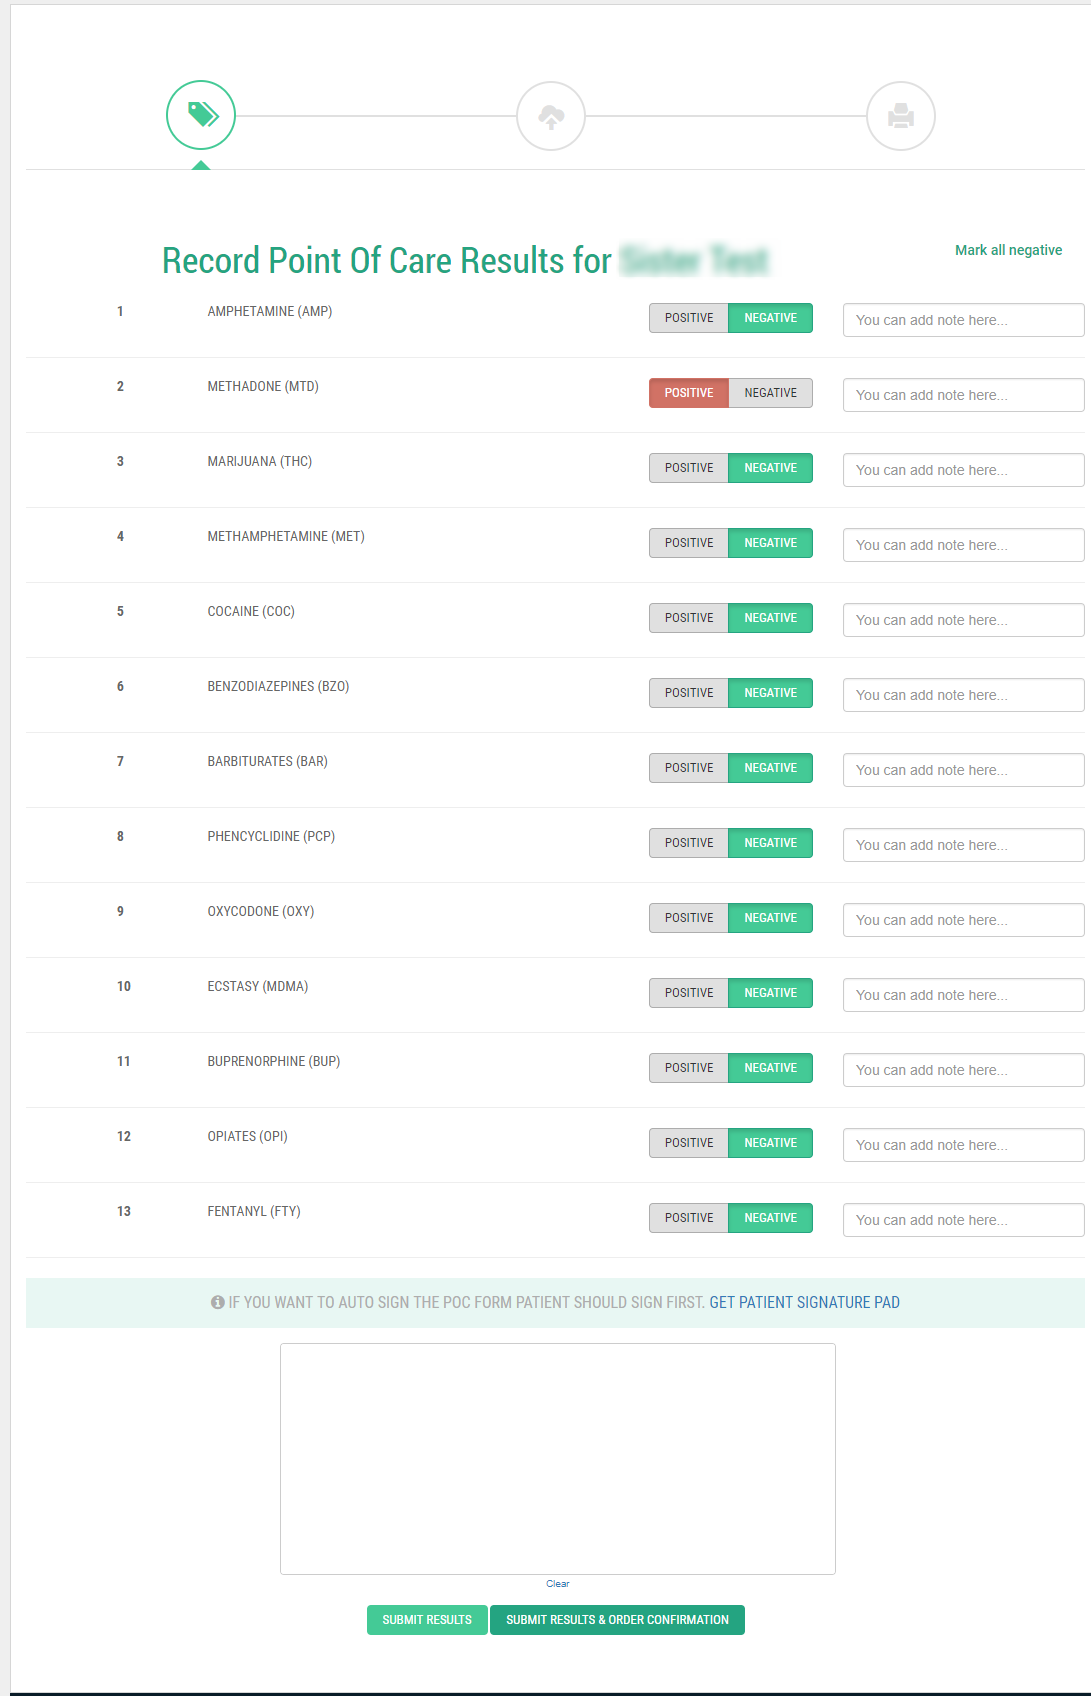
Optional: you can also click the "Get signature pad link" to expand a client signature area and have the patient sign.
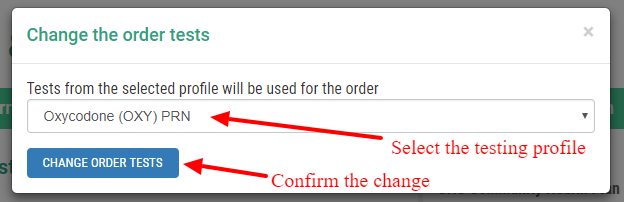
Step 4: Change or update the confirmation test(s)
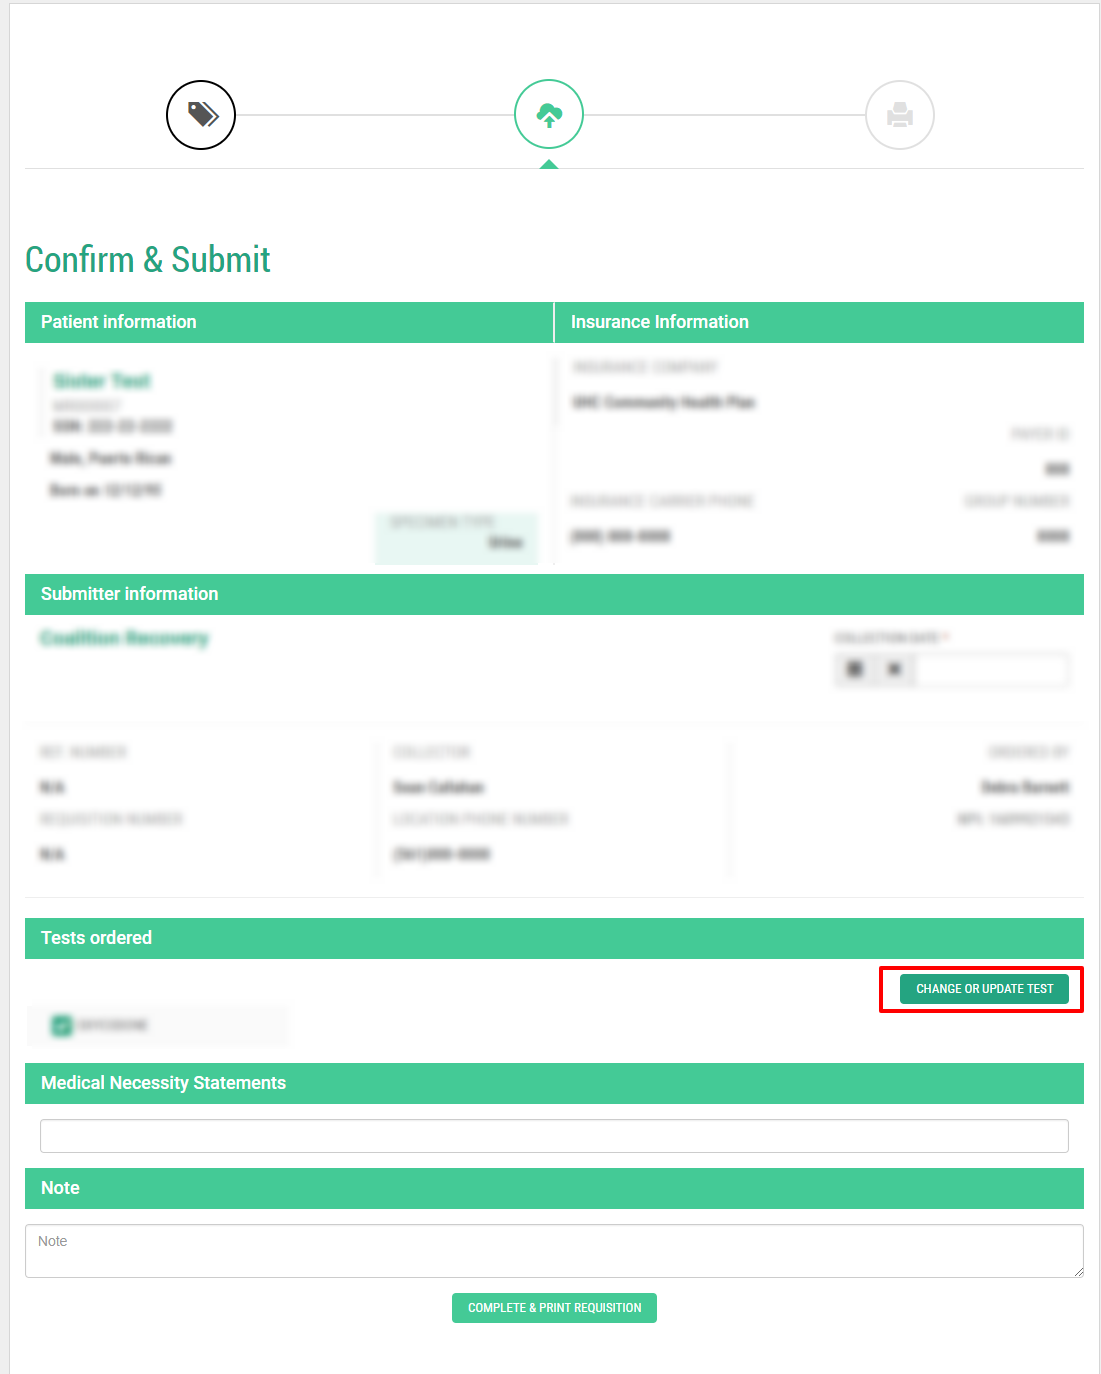
Step 5: Select the correct testing profile and confirm the change
Step 6: Select your medical necessity statement, enter any order notes if applicable and submit for confirmation.
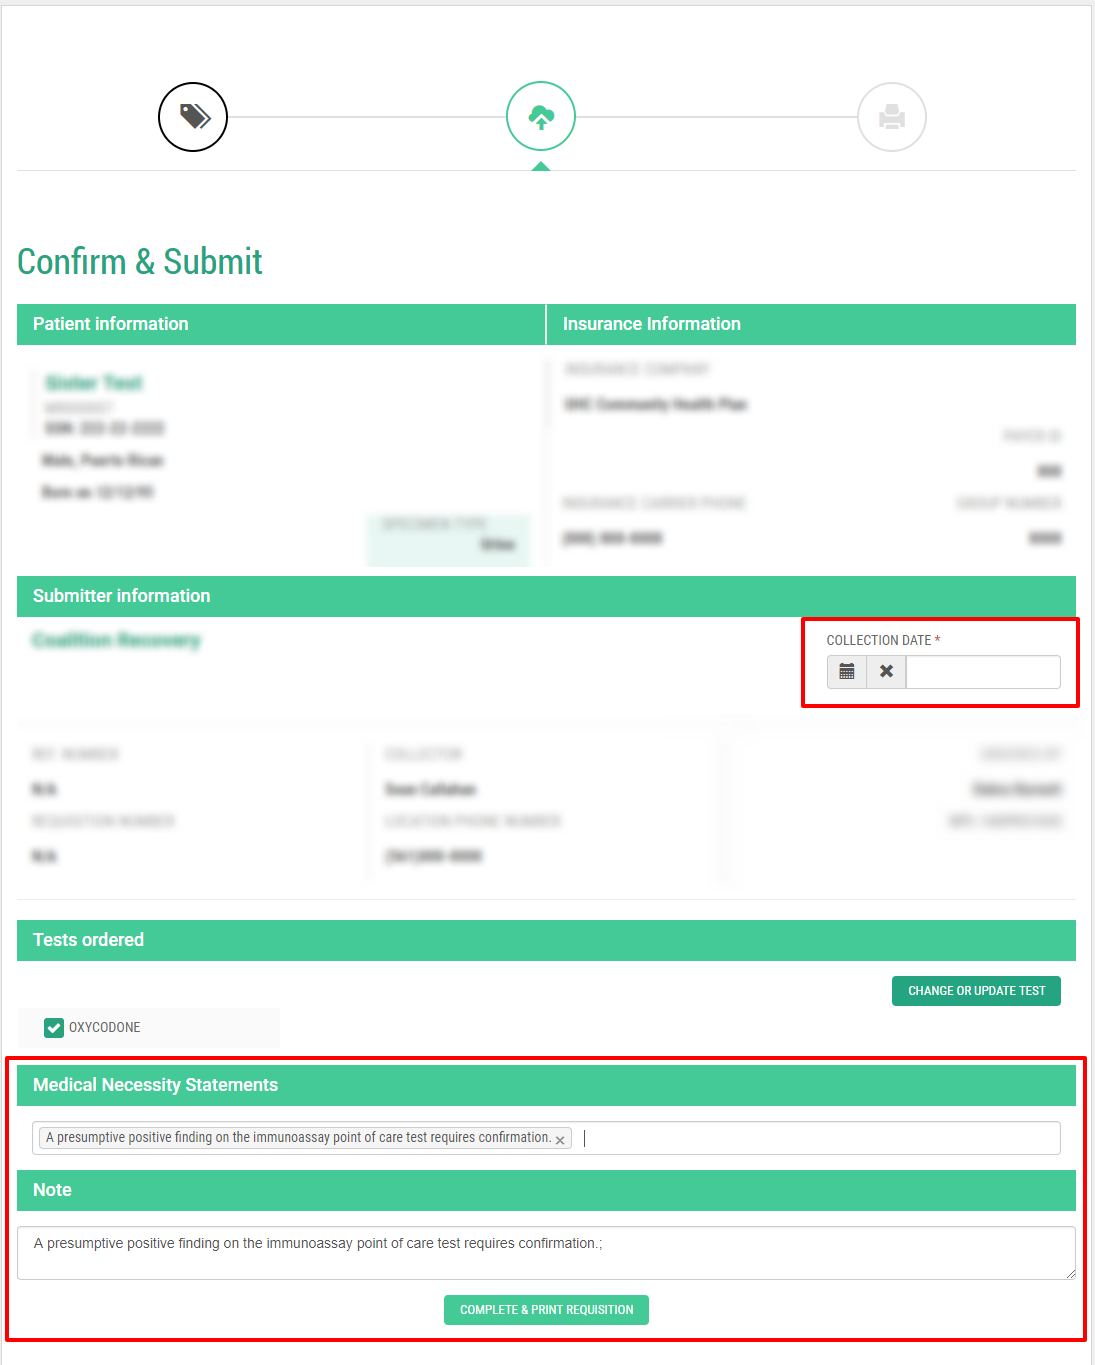
Step 7: Print the label and you're finished.